What are they and how do you make them?
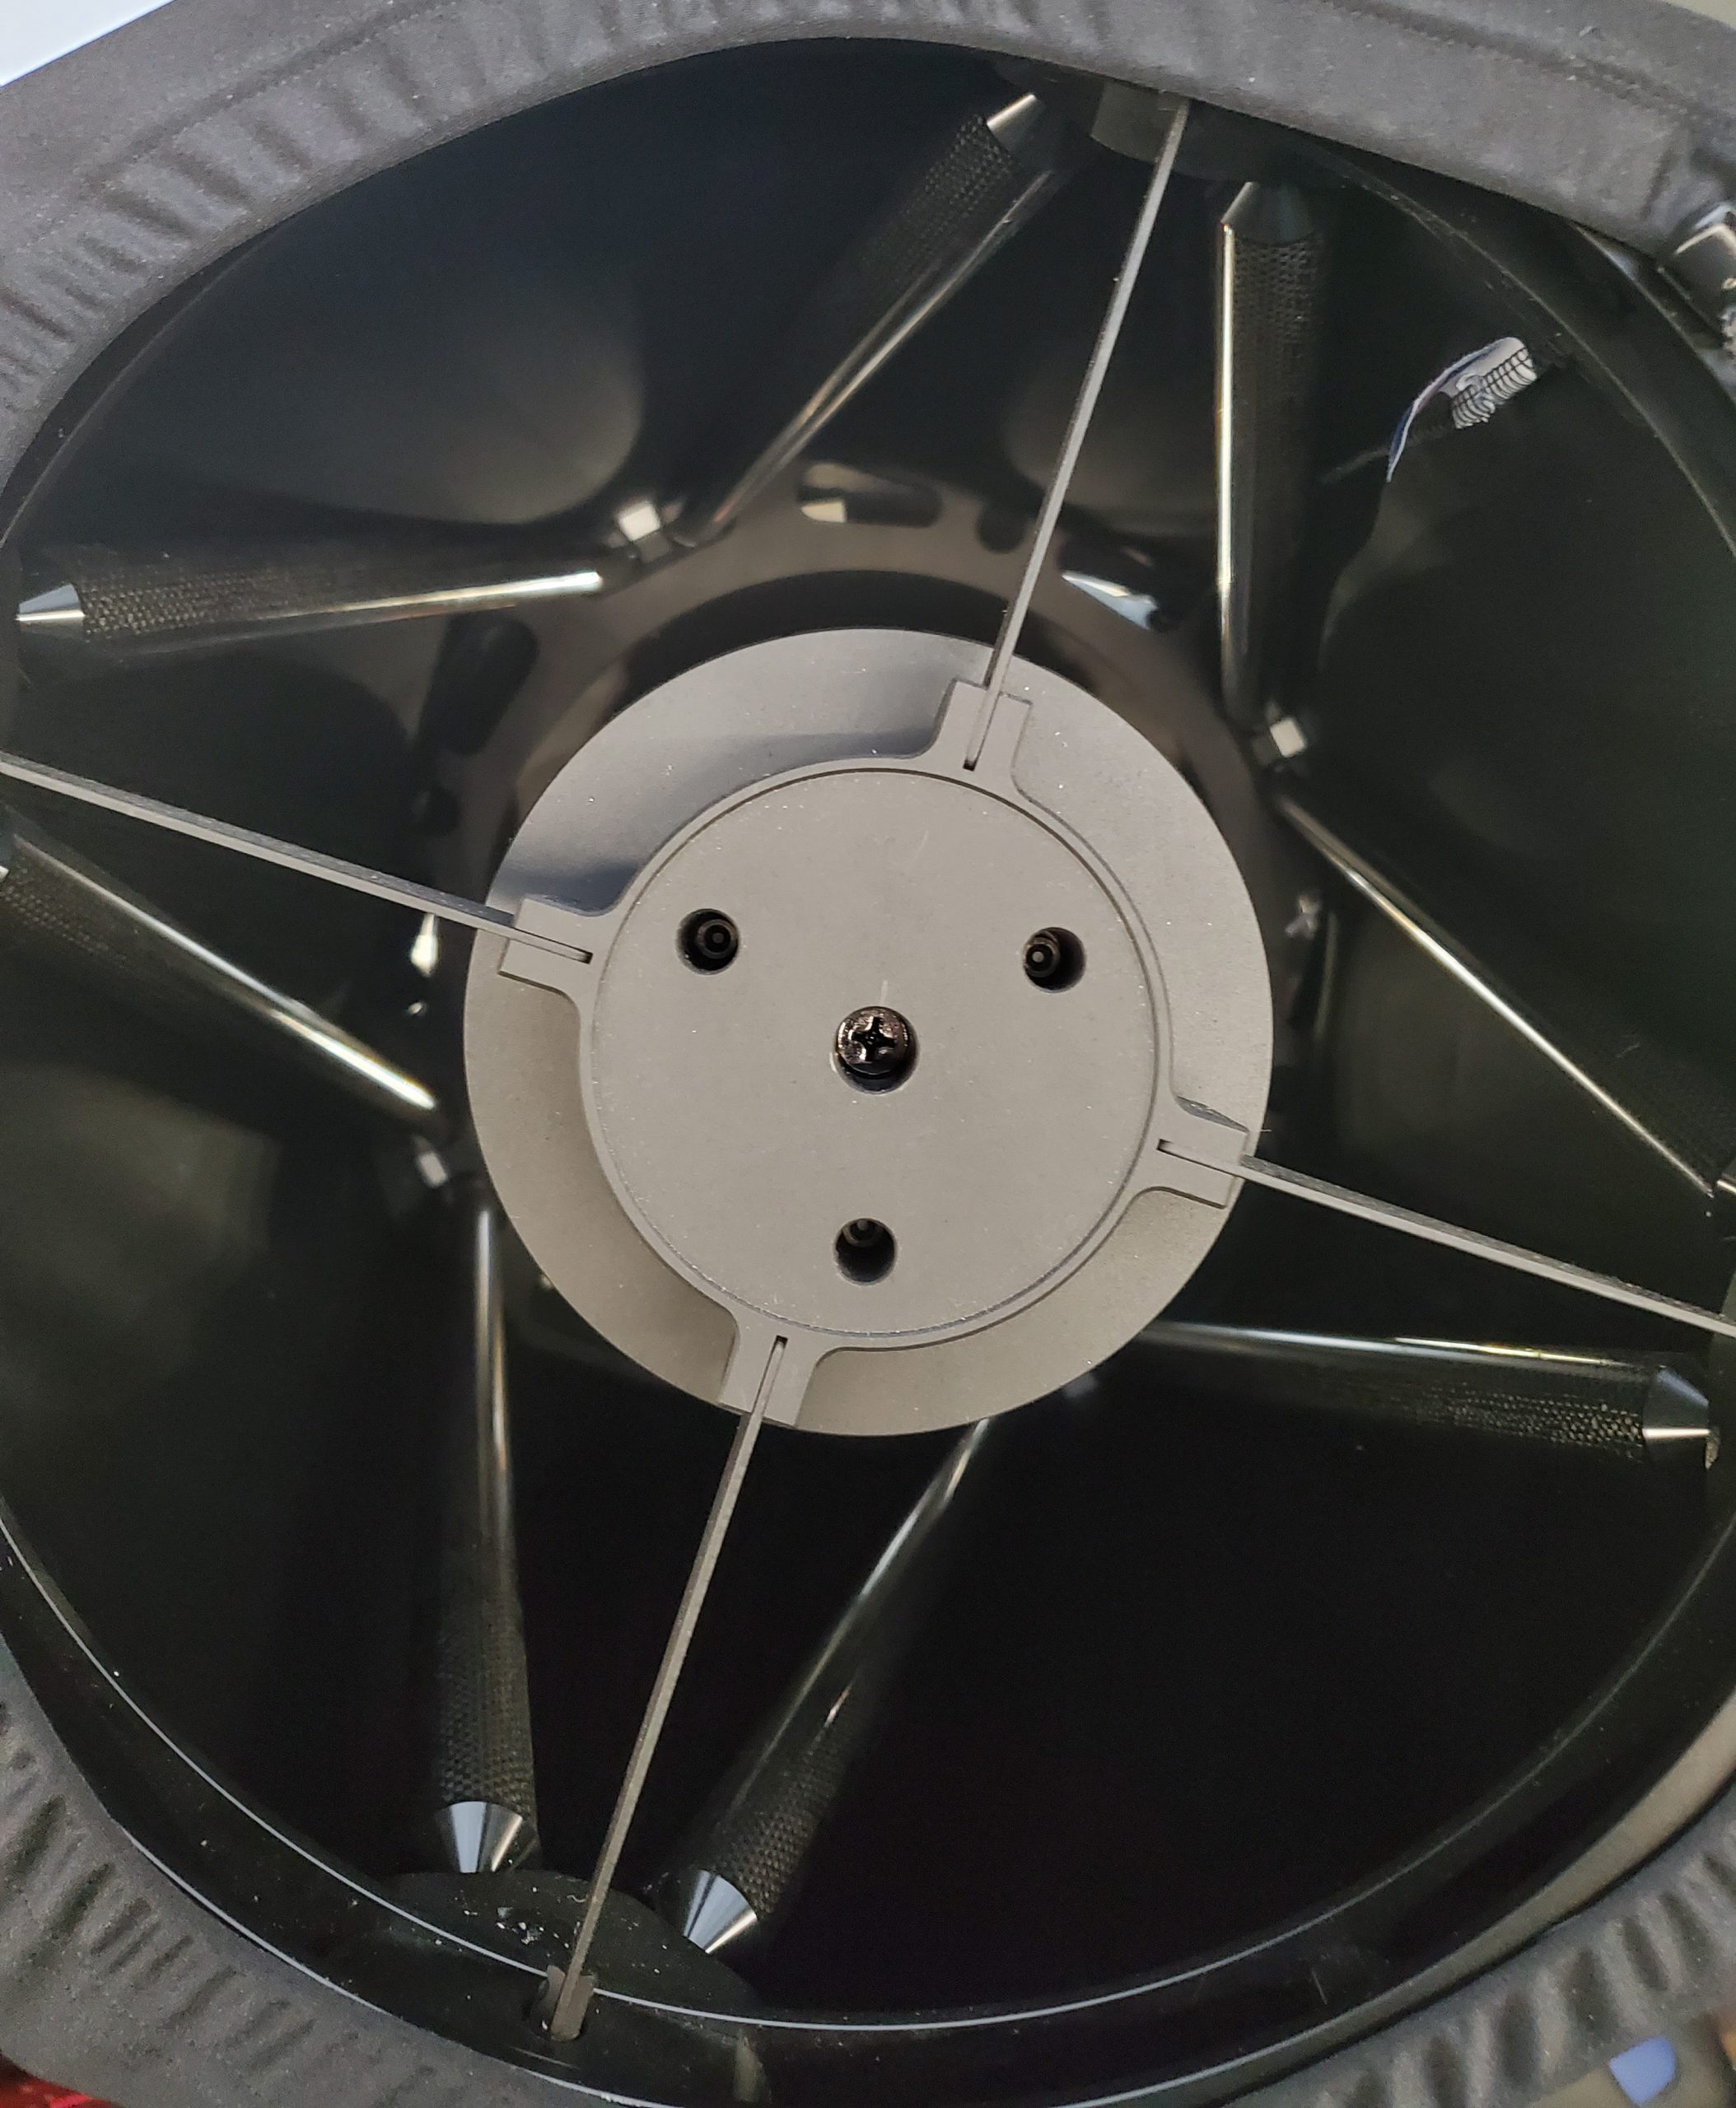
In astrophotography, you sometimes will see stars in the image with a cross-like spike of light. This is not a natural appearance of the star in real life, but instead a photographic effect caused by how light bends or diffracts around an object or in this case the support beams in your secondary mirror in reflecting telescopes. This spike isn’t present with refractors as it doesn’t have a secondary mirror.

Some people don’t like diffraction spikes. Others do. I happen to think they add an element of beauty to an astrophotography. My Astro-Tech 14” RC telescope will produce diffraction spikes because it is a reflector with a secondary mirror supported by beams.

However, my Skywatcher Esprit 80 telescope is a refractor with no secondary mirror supports. But I can still get diffraction spikes with this telescope by using a homemade diffraction spike mask.
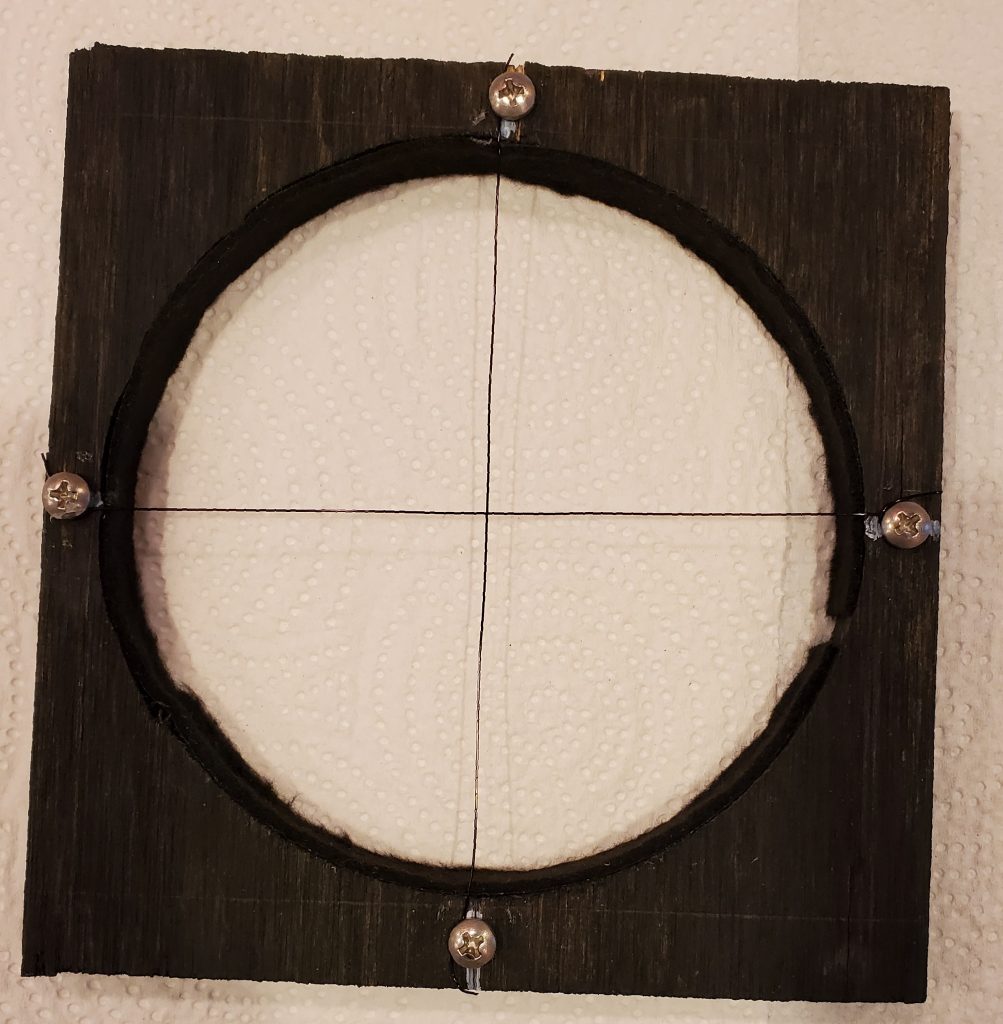
The mask is made with a plywood housing that fits over the optical tube. This housing allows me to mount threads in a crosshair shape so that they fall across the aperture of the telescope. This simulates the same effect as the secondary support beams in the reflector telescope.

Here are the steps I followed in constructing the mask:
- Choose a metal coated or anodized wire as the medium for the crosshairs. I chose a gauge based on the ratio of the center obstruction supports on my RC telescope and its aperture.
- For example, my 14” RC has an aperture of 355.6 mm and the center mirror support beams are 2.17mm thick. This gives a ratio of 164 mm of aperture per 1 mm thickness of the cross hairs.
- My refractor is an 80 mm aperture. Dividing 80mm by 164mm gives 0.49mm for the crosshair thickness. This is closely equivalent to 24 gauge. This is what I went with: https://www.amazon.com/gp/product/B077ZP3R28/ref=ppx_yo_dt_b_asin_title_o00_s00?ie=UTF8&th=1
- Measure the diameter of the optical tube, preferably with digital calipers.
- Chose a piece of plywood thick enough to set firmly around the outside of the optical tube without sliding.
- Cut a hold the diameter of the optical tube using the reading from above plus a millimeter extra. I used a Dremel with a hole cutter attachment. https://www.amazon.com/gp/product/B000HI5WTY/ref=ppx_yo_dt_b_search_asin_title?ie=UTF8&psc=1
- After verifying the fit on the optical tube, I trimmed the plywood to a nice even square and painted it flat black on all sides. Allow to dry. If you want a nice snug fit and are worried about scratches to the tube, line the inside of the hole with a strip of flock tape with adhesive.
- Determine the center point of each of the 4 sides of the plywood cutout. These will be anchor points for the crosshairs.
- Use small screws at each of these points but don’t tighten down. Wrap one end of the wire around a screw and tighten the screw. Then wrap the other end of the wire on the opposite screw and tighten the screw. Do the same for the other wire. You should have a perfect 90-degree cross hair. Trim excess wire.
- Optionally, you can apply some hot glue to the screws and wire ends to keep them from coming loose.
- Place the mask on the aperture of the optical tube pushing down until the edge of the optical tube is flush with the cross-hair wires.
- Using a permanent marker, mark on the side of the optical tube a line which is aligned with one of the screws. That way you can repeat the position of the mask for future imaging sessions.
Update 2/17/2021: Since publishing this blog entry, I am now in the 3D printing arena. One of the first things I printed was a star diffraction mask made for the SkyWatcher Esprit 80 telescope. If you have a 3D printer or know someone who does and you own this telescope, go to Thingiverse and download the files for printing.